Step-by-Step Installation Guide
To install R Language
How to Install R-Languge
Step 1: Download R Software
- Visit the official R Project website by going to https://cran.r-project.org/bin/windows/base/.
- Download the latest version of the R software for Windows.
- Locate the downloaded installation file and double-click to open it.
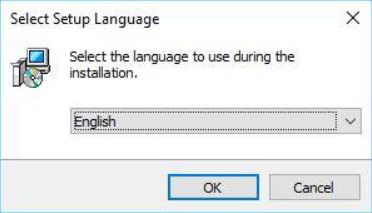
Step 2: Choose Your Language
- Locate the downloaded installation file and double-click to open it.
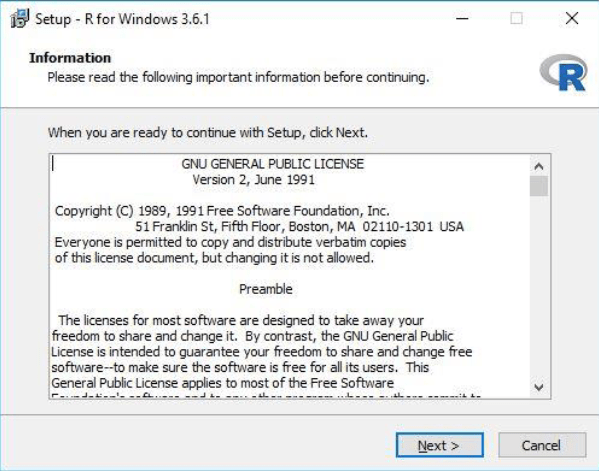
Step 3: Begin Installation
- Click ‘Next’ to start the installation process.
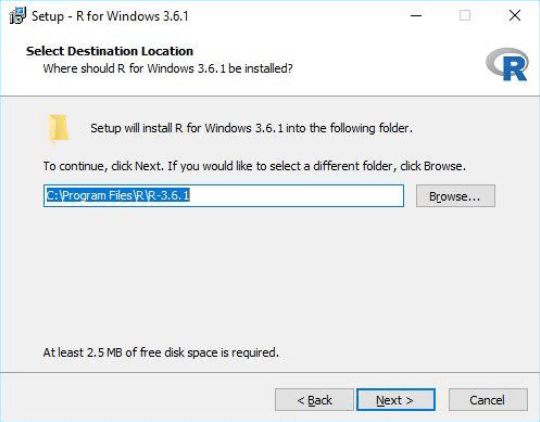
Step 4: Select Installation Location
- You have the option to choose the installation location for R on your system. It is recommended to keep the default location.
- Click ‘Next’ to proceed.
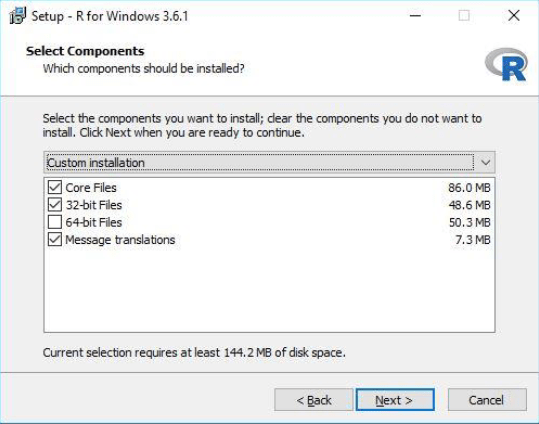
Step 5: Choose 32-bit or 64-bit
- If your system is 64-bit, select both ’64-bit Files’ and ’32-bit Files’.
- If your system is 32-bit, select ’32-bit Files’ only.
- In most cases, there’s no need to customize the installation.
- Click ‘Next’ to continue.
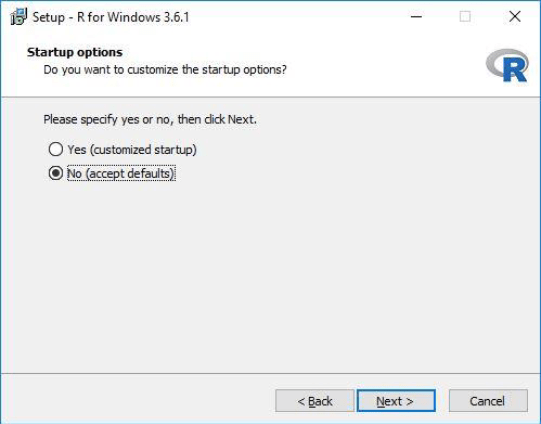
Step 6: Customize Installation (Optional)
- In most cases, there’s no need to customize the installation.
- Click ‘Next’ to continue.
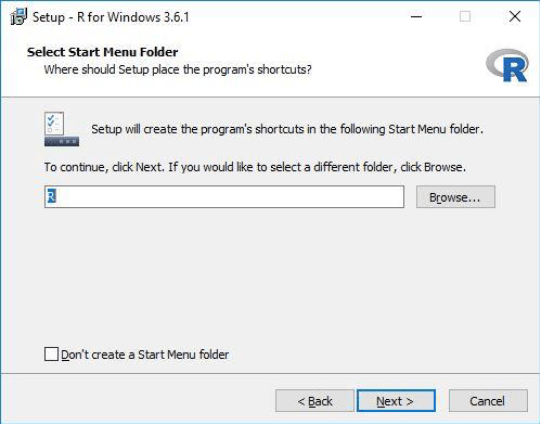
Step 7: Set Start Menu Folder
- You can choose to change the name of the folder in the Start menu. However, it’s recommended to keep the default setting.
- Click ‘Next’ to proceed.
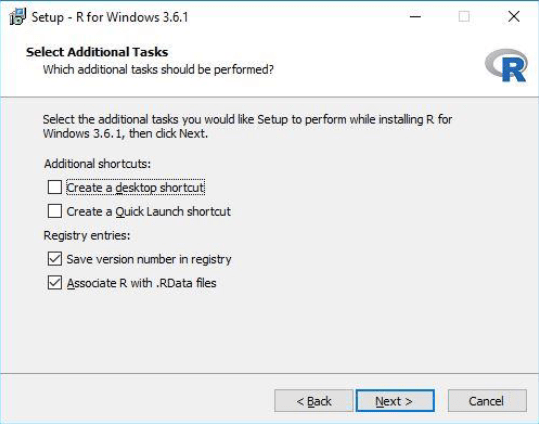
Step 8: Additional Tasks (Optional)
- There are some additional tasks that you can customize, but it’s recommended to keep the default settings.
- Click ‘Next’ to continue.
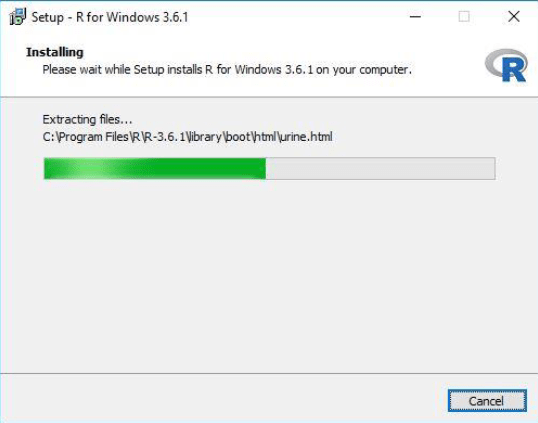
Step 9: Installation Progress
- The installation process will begin. The time it takes may vary based on your system’s configuration.
Step 10: Installation Complete
- Once the installation is successfully completed, click ‘Finish’.
- You can now open the R application from the Start menu
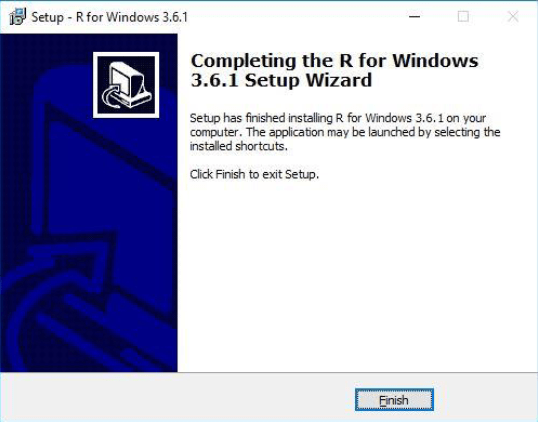
Congratulations! You have successfully installed R language software on your computer. You are now ready to explore the world of data analysis and statistical computing using R.
